Hybrid Bash
Stock Periwinkle
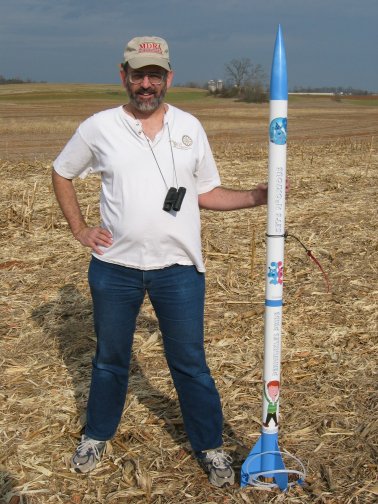
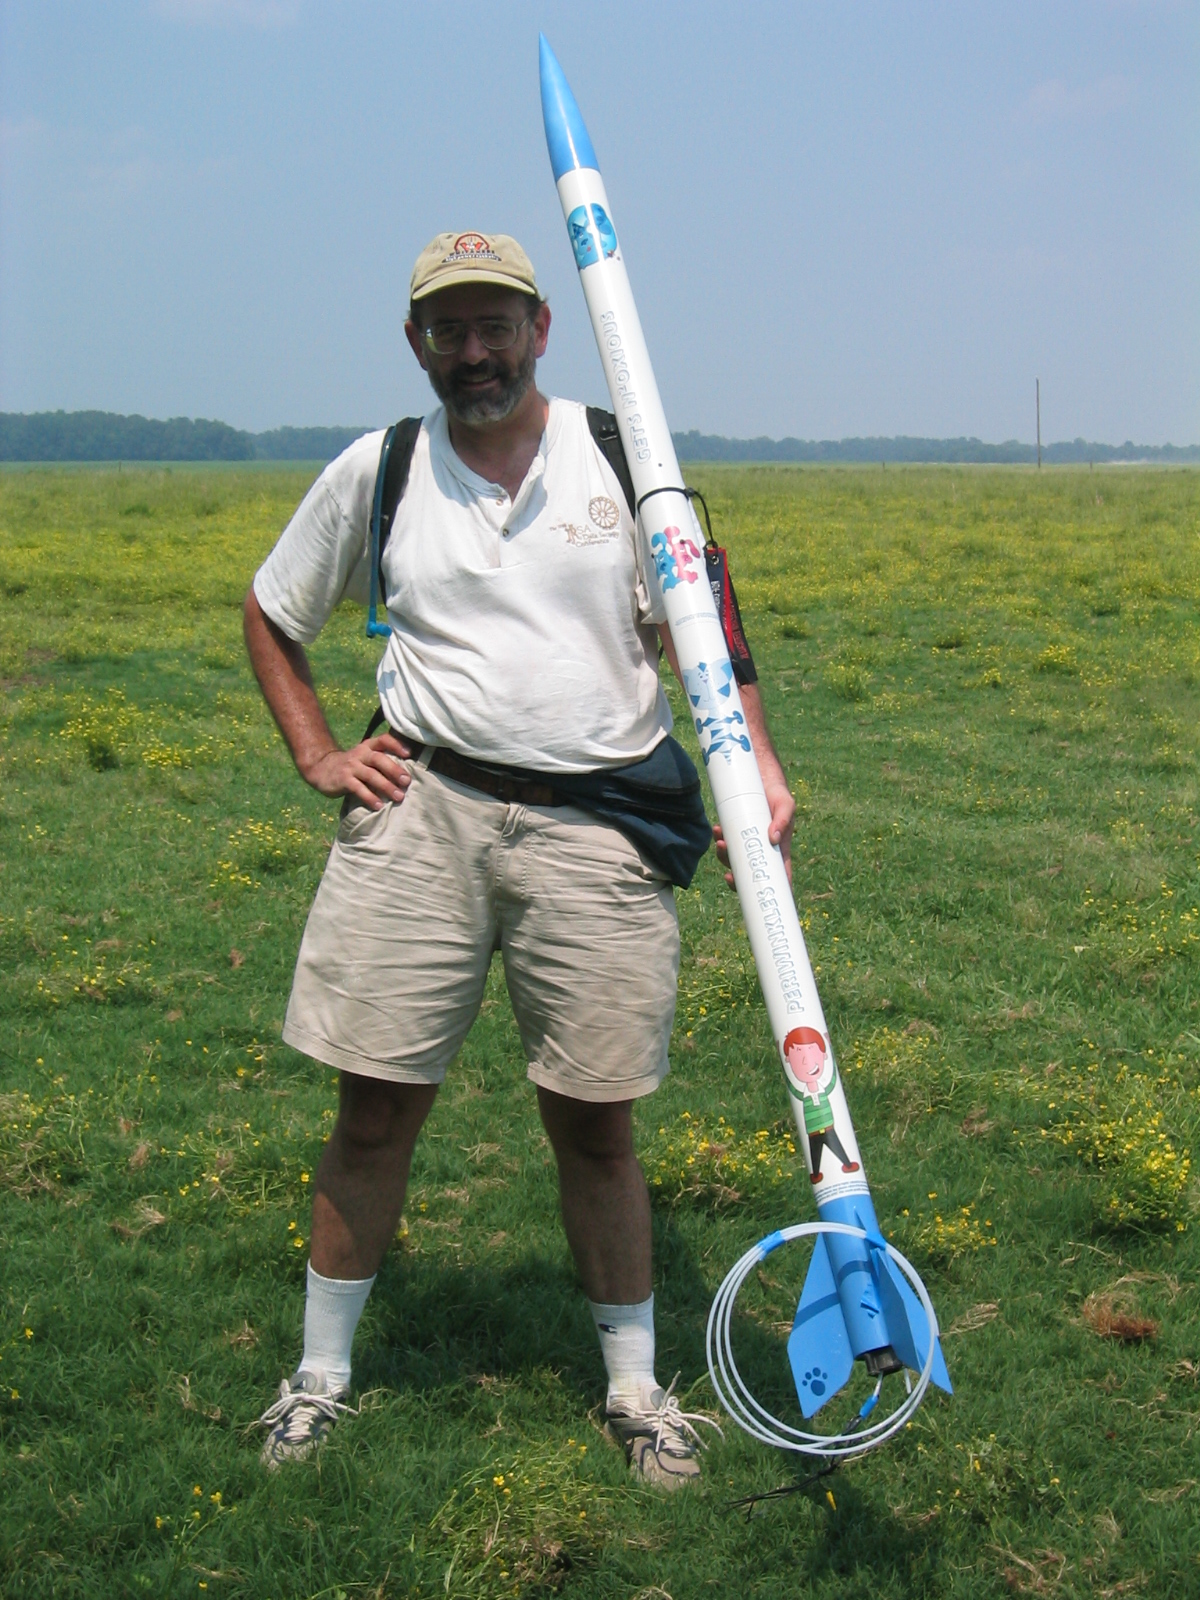
Hybrid Bashed Periwinkle
Hybrid Bashed Periwinkle - rebuilt after her coresample flight.
Mike with Perwinkle re-bashed with extension and loaded with Propulsion Polymers J-140. Check out the launch report below for some great video of that launch.
I wanted to build a new rocket with and for all my new toys - RockSim 6.0 and a Propulsion Polymers motor set. After the CFO (wife) put the brakes on ordering new rocket parts, I decided to consider bashing Periwinkle.
The small motor tube, the H70, would essentially fit, and would just need electronics for deployment. But, I wanted to also get my L2 certification this spring. The L2 would require the J-140 tube and that tube is 34" long - nearly as long as the 36" body tube of Periwinkle. Even the I-140 at 24" leaves no room for electronics AND the chute, and that for single deployment.
And did I mention that I also really didn't want to change Periwinkle, visibly, at all. She looks great , she flies great, and I'd rather work around, if possible, than taint and modify. This with a target for a later build specifically for the longer of these motors.
The "traditional" anti-zipper retrofits.This was a non starter as it would require the coupler tubing to be structurally attached to the main body tube. I didn't want to epoxy this, and I didn't want to screw it in.
The traditional dual deploy designs also didn't quite match up to Periwinkle. Basically, the motors leave no room for electronics bays, which are often embedded in the descending coupler.
So, to bash periwinkle, I would need an upper payload tube, and this tube would have contain the coupler and house the streamer and all it's components, the electronics, and the main parachute and it's components. I would need a removable upper motor support to properly support the longer motors. I would need a vent tube channel through the fin can area.
The upper motor support was easy in principle and construction. It consists of a 2" (or so) section of 2.5" coupler tubing, with two 2.5-1.5 centering rings (I had CRs not CCRs). Centered within was a 6" (or so) piece of 38mm motor mount tubing. The longer motor mount tubing serves to offset the 2.5" portion well down inside the body tube. This is necessary to accomodate the 4" of coupler that will slip in from the payload tube.
Since the upper motor support is non structural, I made a slot in the CRs to allow the nylon strap to pass through. I also added a couple loops of kevlar thread to allow both retrieval of the mount via hook and also to secure to the motor top to prevent ejection from forcing the mount down into the body tube rather than forcing the paylod section off.
The Payload tube is more involved. It's relatively simple, but must contain both deployments and an embedded electronics bay. I did not want the break the body again, so the electronics bay would need to be embedded yet removable.
I had hoped I could keep the extension short, but that was not to be the case. I had hoped for 18" and she ended up about 26". I needed to build the Electronics Bay first.
I had never built an electronics bay before. I had read up on them on RocketryOnline, Info Central, and many other sites. This seemed a bit unique as the bay went into the middle, yet the tube was small, making post-build wiring problematic. And the hole for the altimiter would be a large opening in the relatively small body tube. I discussed this with Doug Pratt and he said "6 of 6-32 bolts".
So I built the bottom of the bay with a double outer thickness to accomodate the bolts without compromising the strength. with 6 I likely would have been OK with a single thickness provided I nailed the CR exactly in the center. My specific combination, aside from strength, was driven by what was on hand.
I built a center-mount plate with a full length allthread with threaded couplers. This is strong. I had the RRC2 to test fit with, and I knew the battery mount would be close, but as it turns out, it's very tight. I either need to shave the mount or recess the RRC2 into the mounting plate (perhaps a RRC2 sized slot with back supports - all I need is 1/8" extra.
I also wanted an outside-rocket arming switch. You can see it's installation. This is and remains a pain. The alignment requirements for a removable bay with a switch, means any amount of error or slop and the switch doesn't align with the coupler tube or the body tube. I may permanently epoxy the plate to the lower bulkheads to facilitate easier and more accurate installation.
Not strictly necessary, but to facilitate an axis of electronics bay alignment and also provide some strength, the lower coupler tubing is extended the full distance up to the electronics bay bottom. This provides a firm and strong seating base with the only axis of alignment left being rotational.
I inserted the externally assembled bay into the tube. With careful measurements, I marked off 6 holes that should be evenly spaced and also nail the center of my built up bulkhead. I then pre-drilled a hole, inserted a screw, and completed all 6, inserting a screw each time (this serves to guarantee absolute alignment). Next time I will make one of the 6 significantly off to make determining the exact alingment very determinstic later (as your marked and as-drilled holes will be off slightly).
With this done, I marked off the switch hold and made that cutout. As this was done separately ,and with the e-bay done first (bad move, always drill IN first, and through everything, and reference from that - besides, mistakes inside don't show), anyways, I made and trimmed the switch cutout. I also made two more altimiter vents at 120 degree invervals. These are inside out drilled and align perfectly even though they're small (1/16").
This sounds too easy. It wasn't it was tedious. But with lesson learned and a bay under my belt, the next ones will be better and also be built faster.
Chutes? Did I leave enough room? The bash would be several pounds heavier, 4.5 heavier for 6.5lbs total. I knew I'd need a bigger chute but not how much bigger. And my RockSim was "shooting low" due to a 20lb estimate for the rocket weight. I tracked this down to an incorrect streamer, but not before I'd made allowances, but otherwise cut the payload tube.
RockSim was saying about 54", and that with computations normalized the the orignal PML sim (mostly factoring out the supposed RockSim penchant for over-sizing chutes). Will a 54 fit? Too late to order ahead from Ken. Hope? Pray.
Visiting with Ken at the launch, we were having difficulties finding the 54 he thought he had. But when I mentioned my space concern AND the descent rate concern, we looked at the 58 as too big (physically too big) and the 48, 50 too small (descent rate). Not finding any 54s Ken remembered seeing a special "thin mil" 58, (Giant Leap) from an abandoned special order. We found that and it's a 'beaut. Very thin, and it will fit. Thanks Ken! Thanks Giant Leap! Saved!. Lesson: Always size your chute with RockSim till it's close, then size it physically with recovery cord before cutting your tubes!
For a drogue I selected an 18" chute per RockSim computations. This also from Giant Leap not PML (again, mostly availability - I didn't need X-thin for this chute).
Recovery is otherwise with Pratt Hobbies Kevlar, 20 feet for each stage.
Venting the motors. The hybrid motors require a N2O tank vent and the Propulsion Polymers vent from the top. I did not have the body tube length to vent up and out (it would interfere with the coupler on the long motors). So I had to go down. Down is problematic during setup, but this rocket's already getting involved (consider ejection charges on the embedded electronics bay). If I only went down some, it could interfere with using the shorter H-70 motor, and that left, essentially, out the bottom of the rocket. For that, I aligned some tape, hoping to avoid the fins and the recovery strap. I also wanted to be away from the rail to give a wider viewing angle, for venting, no matter how the rocket positioned on the rail. To make fising easier I chose to retrofit a 8" (or so) length of brass tubing through the fin can area. This will still be difficult to hit, so I plan on using a 36" length of music wire to facilitate threading the vent tubing through the fin can area as well as through the upper motor mount. This is small enough it should not vent too much ejection charge gases (esp on a standard motor).
Rail buttons. I needed to attach a launch lug on the payload section. The regular 1/4" lugs on the main body were also too small for for a rocket this long and of this power range. I was discussing plaement of a 3/8" or 1/2" lug on the upper section, and alongside the smaller ones (dual use!) this with Doug, and he kept saying "rail buttons". Convinced, I ordered rail buttons from http://www.railbuttons.com and (less necessary) a rail from McMaster-Carr per the instructions on http://www.railbuttons.com.
These were a bit more problematic to retrofit, and also as I wanted to preserve the piston deploy of the original kit (for standard motors at least). I chose to offset mount them to 3/16" slices of 1/2" phenolic rod I had handy. I drilled and tapped these for the 6-32 screws.
I carefully marked out the holes with taped angle iron (to protect the finish), drilled pilot/alignment holes, and chipped the paint away. I also scored well into the QT to give the cement some bite. I used masking tape to facilitate fillets without messing up the paint job. These were glued on with Plastic Weld glue (several brands, from JbWeld, LocTite, ...) which was a test over epoxy. It worked well. (I find Plastic Weld fantastic for gluing tough to glue plastics - but it sets quickly so mix just enough at a time for one button).
For recovery harness, I had the local shoe repair bar-tack all the recovery strapping and now the rocket, in any configuration, assembles with screw links.


Dual Deploy Recovery
I had built an altimeter bay for the
upper section and then core sampled her. So I rebuilt the upper and
here's the new alimeter bay. I added a Magnetic Apogee Sensor as backup
for apogee deployment. It's the upper bay; the lower is the new bay I
built at the same time for the Bullpuppy.
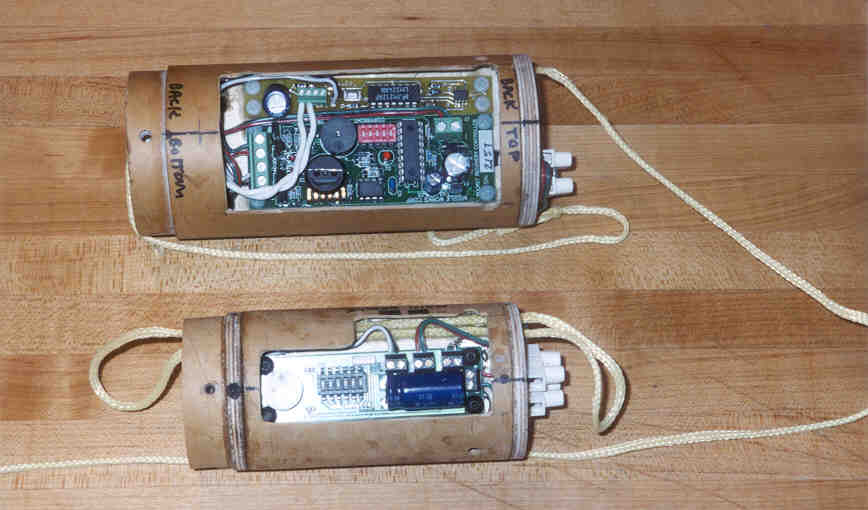
Top shot; Periwnkle with RRC2 and MAD for backup; Bullpuppy with PerfectFlite Mini-Alt altimeter
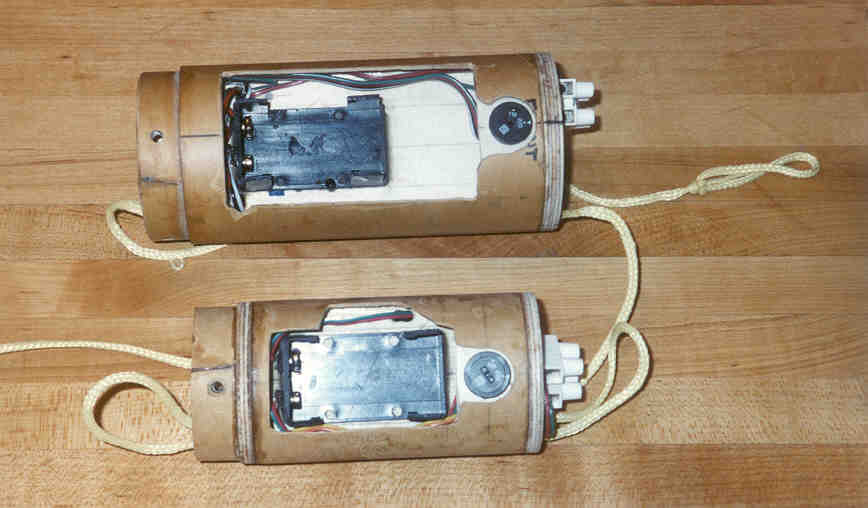
Bottom shot;
Top shot; Periwnkle with RRC2 and MAD for backup; Bullpuppy with PerfectFlite Mini-Alt altimeter
Bottom shot;
Launch Reports
04/27/2003 - Battle Park, Culpepper VA
This day was a valiant but failed attempt at launching my hybrid bash. Read the launch report of the eventual conventional Periwinkle launch here.